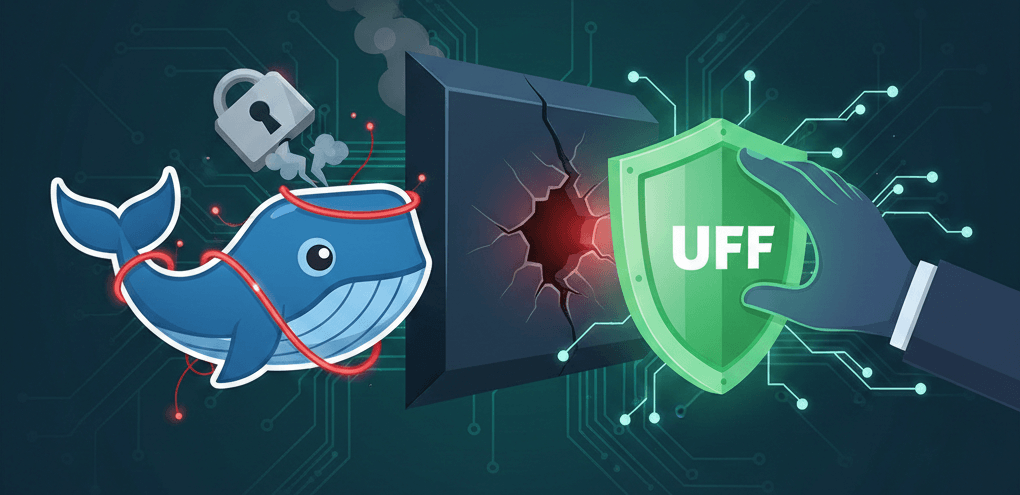
If you are running a Linux server, you probably rely on UFW (Uncomplicated Firewall) to secure it. You run ufw default deny incoming, open SSH, and feel safe.
Then, you install Docker.
You spin up a container with -p 8080:80 and suddenly, port 8080 is open to the entire world even if UFW says it should be blocked.
This isn’t a bug; it’s a feature. Docker interacts directly with iptables to manage Network Address Translation (NAT). To make port forwarding work, Docker inserts its rules before your standard UFW rules. In effect, Docker traffic bypasses your firewall entirely.
Here is how to fix it, how to shift your mental model, and why the “System-Level Gateway” pattern is the ultimate secure setup.
1. The DOCKER UFW Patch: Reclaiming Control
To fix this, we don’t need to disable Docker’s network management (which breaks things). Instead, we need to tell Docker: “Before you forward traffic to a container, ask UFW for permission.”
We do this by injecting rules into the DOCKER-USER chain, a specific hook provided by Docker for administrators.
The Fix
Add the following block to the end of /etc/ufw/after.rules. This configuration forces Docker traffic to pass through UFW’s filters.
# BEGIN UFW AND DOCKER
*filter
:ufw-user-forward - [0:0]
:ufw-docker-logging-deny - [0:0]
:DOCKER-USER - [0:0]

# 1. The Hook: Send all Docker traffic to UFW's user chain
-A DOCKER-USER -j ufw-user-forward

# 2. Connection Tracking: Allow return traffic for established connections
-A DOCKER-USER -m conntrack --ctstate RELATED,ESTABLISHED -j RETURN

# 3. Internal Traffic: Allow containers to talk to each other
-A DOCKER-USER -i docker0 -o docker0 -j ACCEPT
# (Optional) Allow Docker Compose networks (adjust subnet as needed)
-A DOCKER-USER -s 172.16.0.0/12 -j RETURN

# 4. Default Deny: Block new external connections by default
-A DOCKER-USER -m conntrack --ctstate NEW -j ufw-docker-logging-deny

# 5. Logging: Log blocked packets so you can see them in dmesg
-A ufw-docker-logging-deny -m limit --limit 3/min --limit-burst 10 -j LOG --log-prefix "[UFW DOCKER BLOCK] "
-A ufw-docker-logging-deny -j DROP

COMMIT
# END UFW AND DOCKER
After adding this, run sudo ufw reload. Now, all published Docker ports are blocked by default.
2. The New Mental Model: INPUT vs. FORWARD
Once you apply this patch, you must change how you think about firewall rules. UFW manages two distinct “directions” for traffic.
The “House” vs. The “Tunnel”
- Traffic for the Host (
INPUT)- Scenario: You want to access SSH, or a system-level Nginx/Caddy installed directly on the OS.
- The Path: Traffic hits the server’s network card and stays there.
- The Command:
ufw allow <port> - Example:
ufw allow 22opens SSH.
- Traffic for Docker (
FORWARD)- Scenario: You want to access a container running a web app.
- The Path: Traffic hits the server, gets grabbed by Docker, and is forwarded through a virtual tunnel (NAT) to the container’s internal IP (e.g.,
172.17.0.2). - The Command:
ufw route allow <port> - Example:
ufw route allow proto tcp from any to 172.17.0.2 port 80
Key Takeaway: If the app is in a container, ufw allow does nothing. You must use ufw route allow.
3. The “Gateway Pattern”: System-Level Caddy
While the ufw route method works, managing firewall rules for ephemeral container IPs is tedious. A more robust architecture is the Gateway Pattern.
The Setup
- Install Caddy (or Nginx) on the Host OS: This acts as your single entry point (Reverse Proxy).
- Run Containers on Localhost: Bind your Docker ports strictly to
127.0.0.1.
Why its Superior
A. Zero Firewall Complexity for Apps
Because Caddy runs on the host, you only need standard UFW rules:
sudo ufw allow 80
sudo ufw allow 443
You mostly would never have to touch ufw route or worry about container IPs changing.
B. Physical Isolation
When you run a container like this:
docker run -p 127.0.0.1:8080:80 my-appThe application is listening only on the loopback interface. It is physically impossible for an external packet to reach port 8080, regardless of your firewall state. The connection must come from the host (i.e., from Caddy).
C. The “Safety Net”
So why did we bother patching UFW in step 1? Defense in Depth.
If you (or a junior dev) accidentally type -p 8080:80 and forget the 127.0.0.1 binding, a standard Docker setup would instantly expose that port to the internet.
With the UFW Patch installed, that accidental port exposure is blocked by default. The firewall acts as a safety net, catching human error before it becomes a security incident.
Summary Architecture
| Component | Installation | Network Binding | Firewall Rule |
| Caddy | System (apt/rpm) | Public IP (0.0.0.0) | ufw allow 80,443 |
| App A | Docker | 127.0.0.1:3000 | None needed (Internal) |
| App B | Docker | 127.0.0.1:4000 | None needed (Internal) |
| Safety | UFW Patch | N/A | Blocks accidental -p 80:80 |